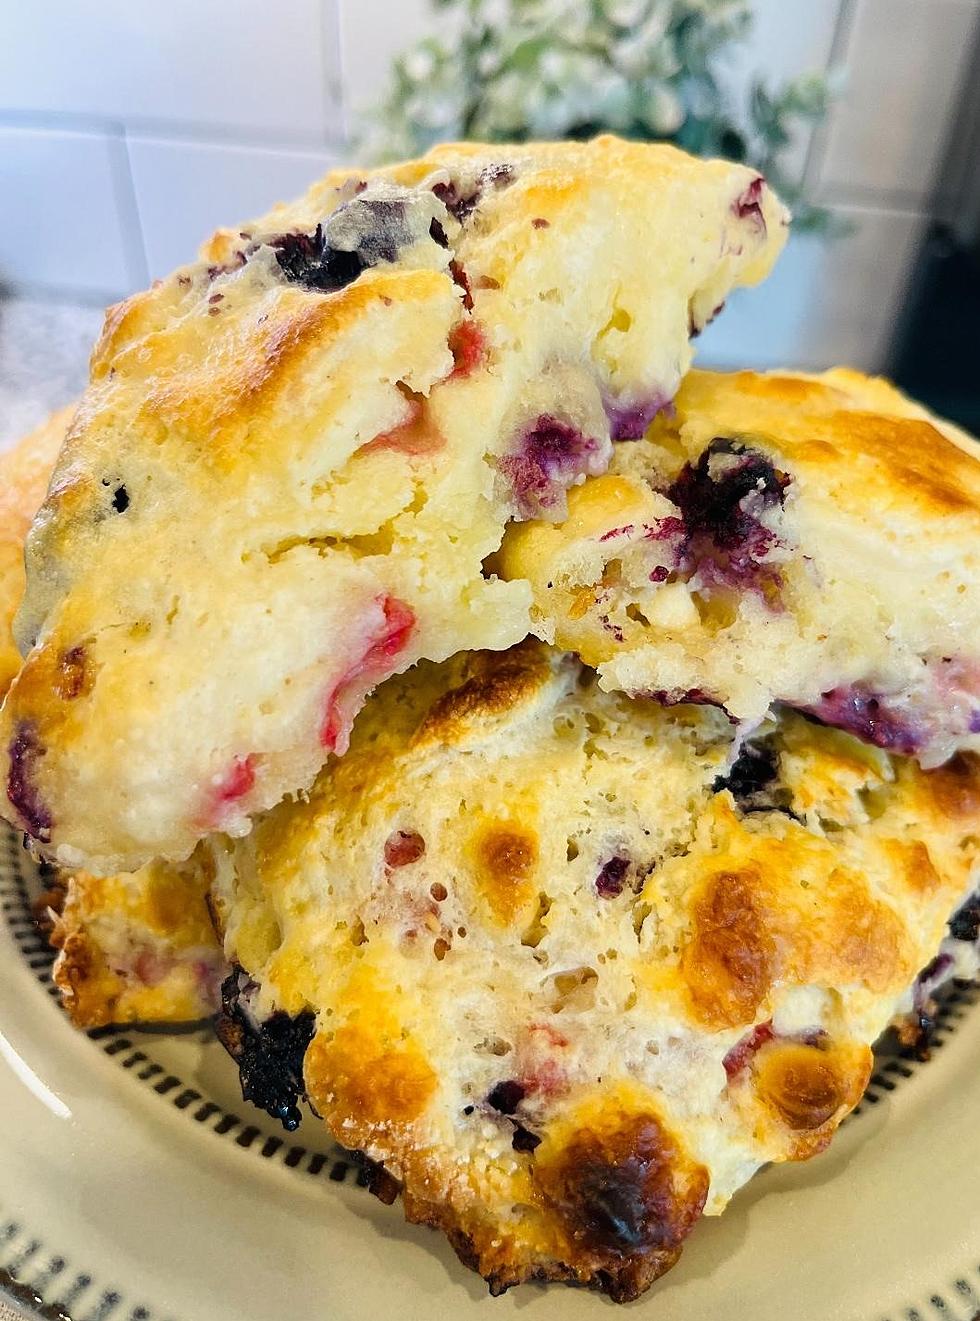
How to Make the Best Homemade Scone of Your Life
Growing up, the women in my family were all bakers, and my mama channels her inner Betty Crocker just about every day. I remember sitting in my Great Grandmother's kitchen as she cooked a full course meal for Sunday dinner. She'd make enough for Cox's Army and still always made sure we had a pie! One thing she never baked though were scones.
Well, my new friend Patty Millay has found a delicious recipe for spring time scones which she says was "the most fun thing I've tried in quite some time!"
Patty brought us some to try this morning, and I can accurately report that they were sweet, fresh, fruity and oh so delicious! She so kindly shared her tips and tricks so you can give them a go!
You'll need:
2 1/2 cups self-rising White Lily flour, plus more for work surface and kneading
2 tbsp (for savory) or 4 tbsp (for sweet) granulated sugar
½ cup cold unsalted butter, cubed
⅔ cup cold buttermilk, plus more for brushing top of scones
1 large egg
1 tsp vanilla (for sweet only)
1–2 cups add-ins (I used 1/2 cup white chocolate chips, 1/2 blueberries and 1/2 cup raspberries for this sweet scone version)
Now Patty told us that the secret to this recipe is to prep ahead because you will need to work quickly! It's your chance to pretend you are a contestant on The Great British Baking Show! No pressure!
In one bowl, go ahead and put all of your add-in ingredients together. In another bowl, you'll want your liquid ingredients. The reason for this, is that you want your ingredients to stay as cold as possible throughout the process. Patty recommends using stainless steel mixing bowls and putting them in the fridge before you start. Genius!
OK so the process:
- Add the flour and sugar to a large mixing bowl, then add in the cold butter.
- Using a pastry cutter, fork, or two knives, work in the butter until the mixture resembles coarse meal with some larger pieces remaining.
- Toss in your add-ins.
- Whisk together the buttermilk, egg, and vanilla (if making sweet scones).
- Pour the wet ingredients over the dry ingredients and mix just until all is moistened.
- Scrape the dough onto a floured work surface.
- With floured hands, gently knead the dough into a ball. It doesn’t have to be perfectly smooth. Rough and shaggy is actually better.
- Flatten into a 6″ circle and cut into 8 wedges.
- Transfer onto a parchment paper-lined baking sheet and chill in the fridge for 20 minutes.
- Brush the surface with buttermilk and bake in a 400F oven for 20 minutes.
Scones are best enjoyed the day of. However, leftovers can be stored in an airtight container at room temperature for 2 days or in the fridge for up to 5 days. To reheat, place on a baking sheet, lightly tent with foil, and warm for 10 minutes at 350F.
To freeze unbaked scones: place the wedges in the freezer until frozen solid, put them in a ziplock back, return to freezer and store for up to a month. When ready to bake, let thaw overnight in the fridge, and bake as instructed.
To freeze them after baking: let the scones cool completely, place them in a ziplock bag, and freeze for up to a month. When ready to use, thaw overnight in the fridge, and warm in the microwave for 30 seconds or on a baking sheet lightly tented with foil in a 350F oven for about 10 minutes.
This is such a fun recipe because you can choose whatever add-ins you like. Patty told us she will be trying a savory scone next (just leave out the vanilla) with ham, cheese, and jalapenos. I sure hope she lets us taste test those too!
KEEP READING: 3-ingredient recipes you can make right now
More From WBKR-FM


