Kentucky Woman Shares Creative DIY Distressed T-Shirt Hack
I honestly would wear a vintage T-shirt every day if I could. I search for them at every thrift store or garage sale I go to and have even bought special shirts from re-sellers. One of my favorites I have ever found was a real deal old-school Reba shirt you may have seen me in many times. (Thank you, Travis Estes and Granny Del!) I'm glad the trend is currently all the rage because ya girl is stocked up.
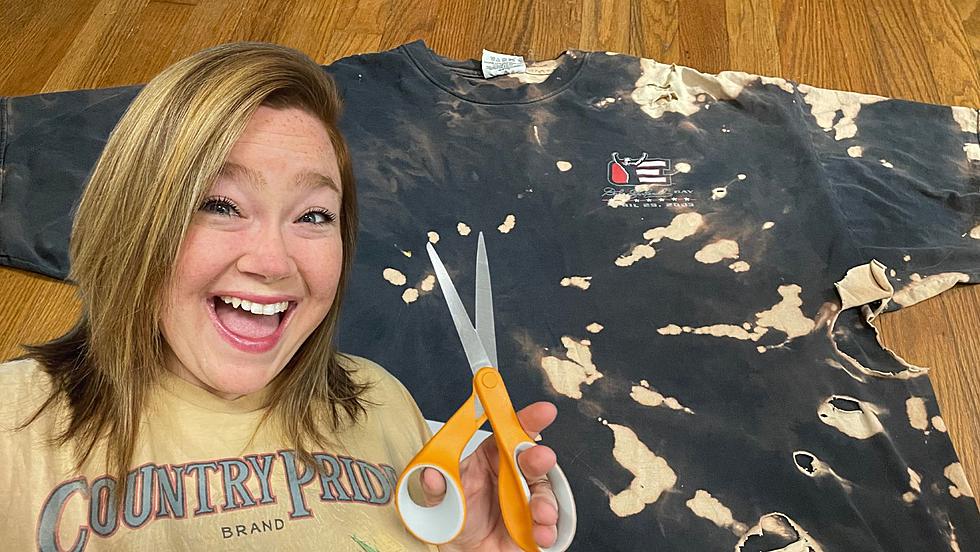
The only problem is that over time these decades-old pieces of clothing start to wear out and get holes. Wash after wash, they sometimes just can't hang in there. I actually have one that is another favorite, but the previous distressing of bleach tie-dye has made holes on the sides. I can be going around with busted-out armpits, but I want to still be able to wear the shirt. So, I took a risk and got out my scissors. I'm not a seamstress by any means, but you don't have to be. Do you have any band tees that are special and need new life? Maybe you just want to jazz up a boring T-shirt. I'll show you what I did.
The main tip to keep in mind is that you can always cut more off, but you can't put it back on! Also, sharp fabric scissors are a MUST. I am going to post some of my steps, but the tutorial I followed is linked at the bottom in case you want to see the process in real-time. There is also another style you could try.
To cut the v-neck, first make sure your shirt seams are lined up, even, and flat.
Then, you want to cut a slit right in the middle down from the collar. However long you are comfortable with. You could even just do a rounded scoop neck.
Next, cut a slit at the shoulder seam right by the collar.
Then you will cut a straight line from the tiny slit at the top, down to the bottom of the middle longer slit. Make sure you end at your "point" if you are wanting a V-neck. Do the same on the other side. Then you just follow along the back collar to trim it off.

Now, the sides are where it gets a little tricky. You could also do a weave down the back, but this shirt was always too big for me. So, I chose to weave either side to make it a little more fitted. I still want it kind of baggy though. Once again, make sure the shirt is flat before cutting slits at least a half-inch thick down the side. They do not have to be perfectly measured.
Then you want to put your shirt on a pillow or a piece of cardboard. Gently stretch out the strips of the shirt being careful not to pull too tight. You don't want them to break. Pardon the cat hair. I guess one of these steps should include blocking off any nosey pets who like to "help." Mine sat on the shirts the whole time.
Here is where I will let the expert step in! I think it's easier to follow along with the video:
I added a few more cuts on the back for funsies and here is the finished product.
It's not too exciting in a photo, but I plan to wear it to the Elle King show at the Riverpark Center tonight! I'll report back and show y'all what it looked like on!
LOOK: Popular fashion trends from the year you were born
More From WBKR-FM


![Boonville Native Hosting Netflix Christmas Series Shares Trailer Just Ahead Of Show Premiere [WATCH]](http://townsquare.media/site/71/files/2020/11/Screen-Shot-2020-11-11-at-8.19.21-AM.jpg?w=980&q=75)
![Build Your Cabin Kit Available on Amazon [GALLERY]](http://townsquare.media/site/76/files/2020/08/Amazon-one-cabin-Allwood.jpg?w=980&q=75)


![Spring Break Ideas To Cure The Boredom Blues [VIDEO]](http://townsquare.media/site/76/files/2017/03/421b.jpg?w=980&q=75)
![Erin Shows You How To Make Your Own Gift Bag [VIDEO]](http://townsquare.media/site/76/files/2014/12/92.5_WBKR_via_YouTube.png?w=980&q=75)

